

This is a summary from my 2023 A/B test on OurFigs (128 cuttings, two each from 64 varieties sourced from Figaholics). One cutting per variety went into coco coir, the other into DE. Coco coir proved faster and more reliable overall (100% success), while DE was slower but still effective (92% final) with careful hydration. Both work well when managed properly.
Materials
- Fresh fig cuttings (6-10 inches , at least 6 intact nodes; resulting in division into two cuttings per variety for comparison). *You can use whatever and however you like here – this was just our setup for the experiment.
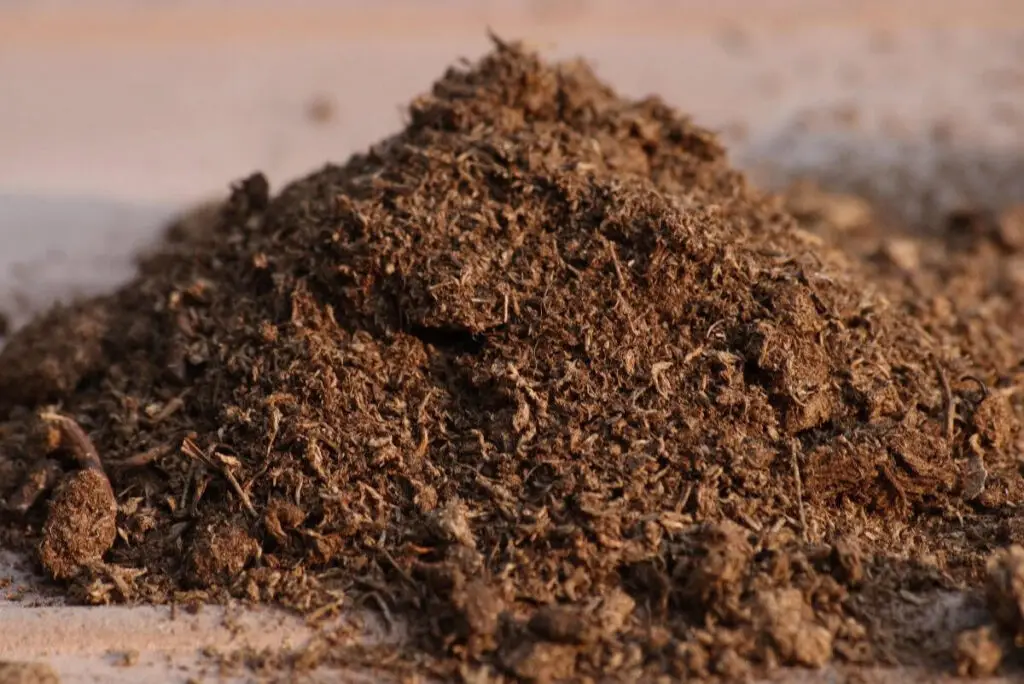
- Coco coir : Home and Country Triple Washed Compressed Coco Coir Brick : Prewashed and drained in large (15 gallon) cloth potting bags. Mixed ~30% coarse virgin DE (OptiSorb, sifted #8 hardware screen) by volume for aeration.
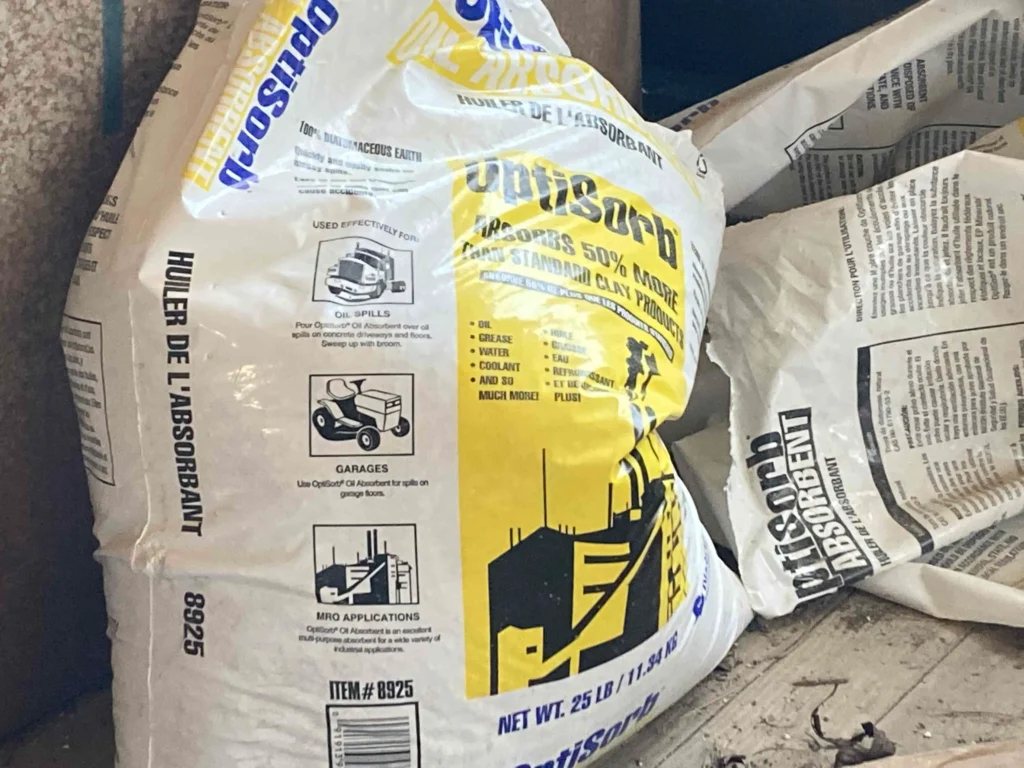
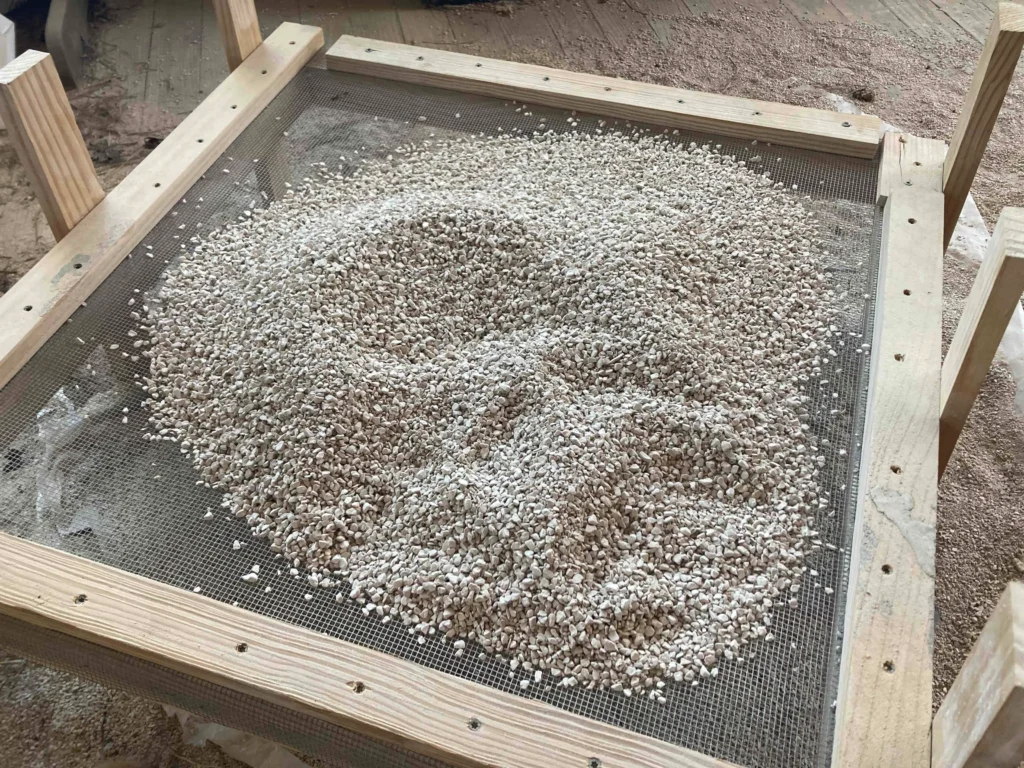
- DE: OptiSorb, sifted through #8 hardware screen.
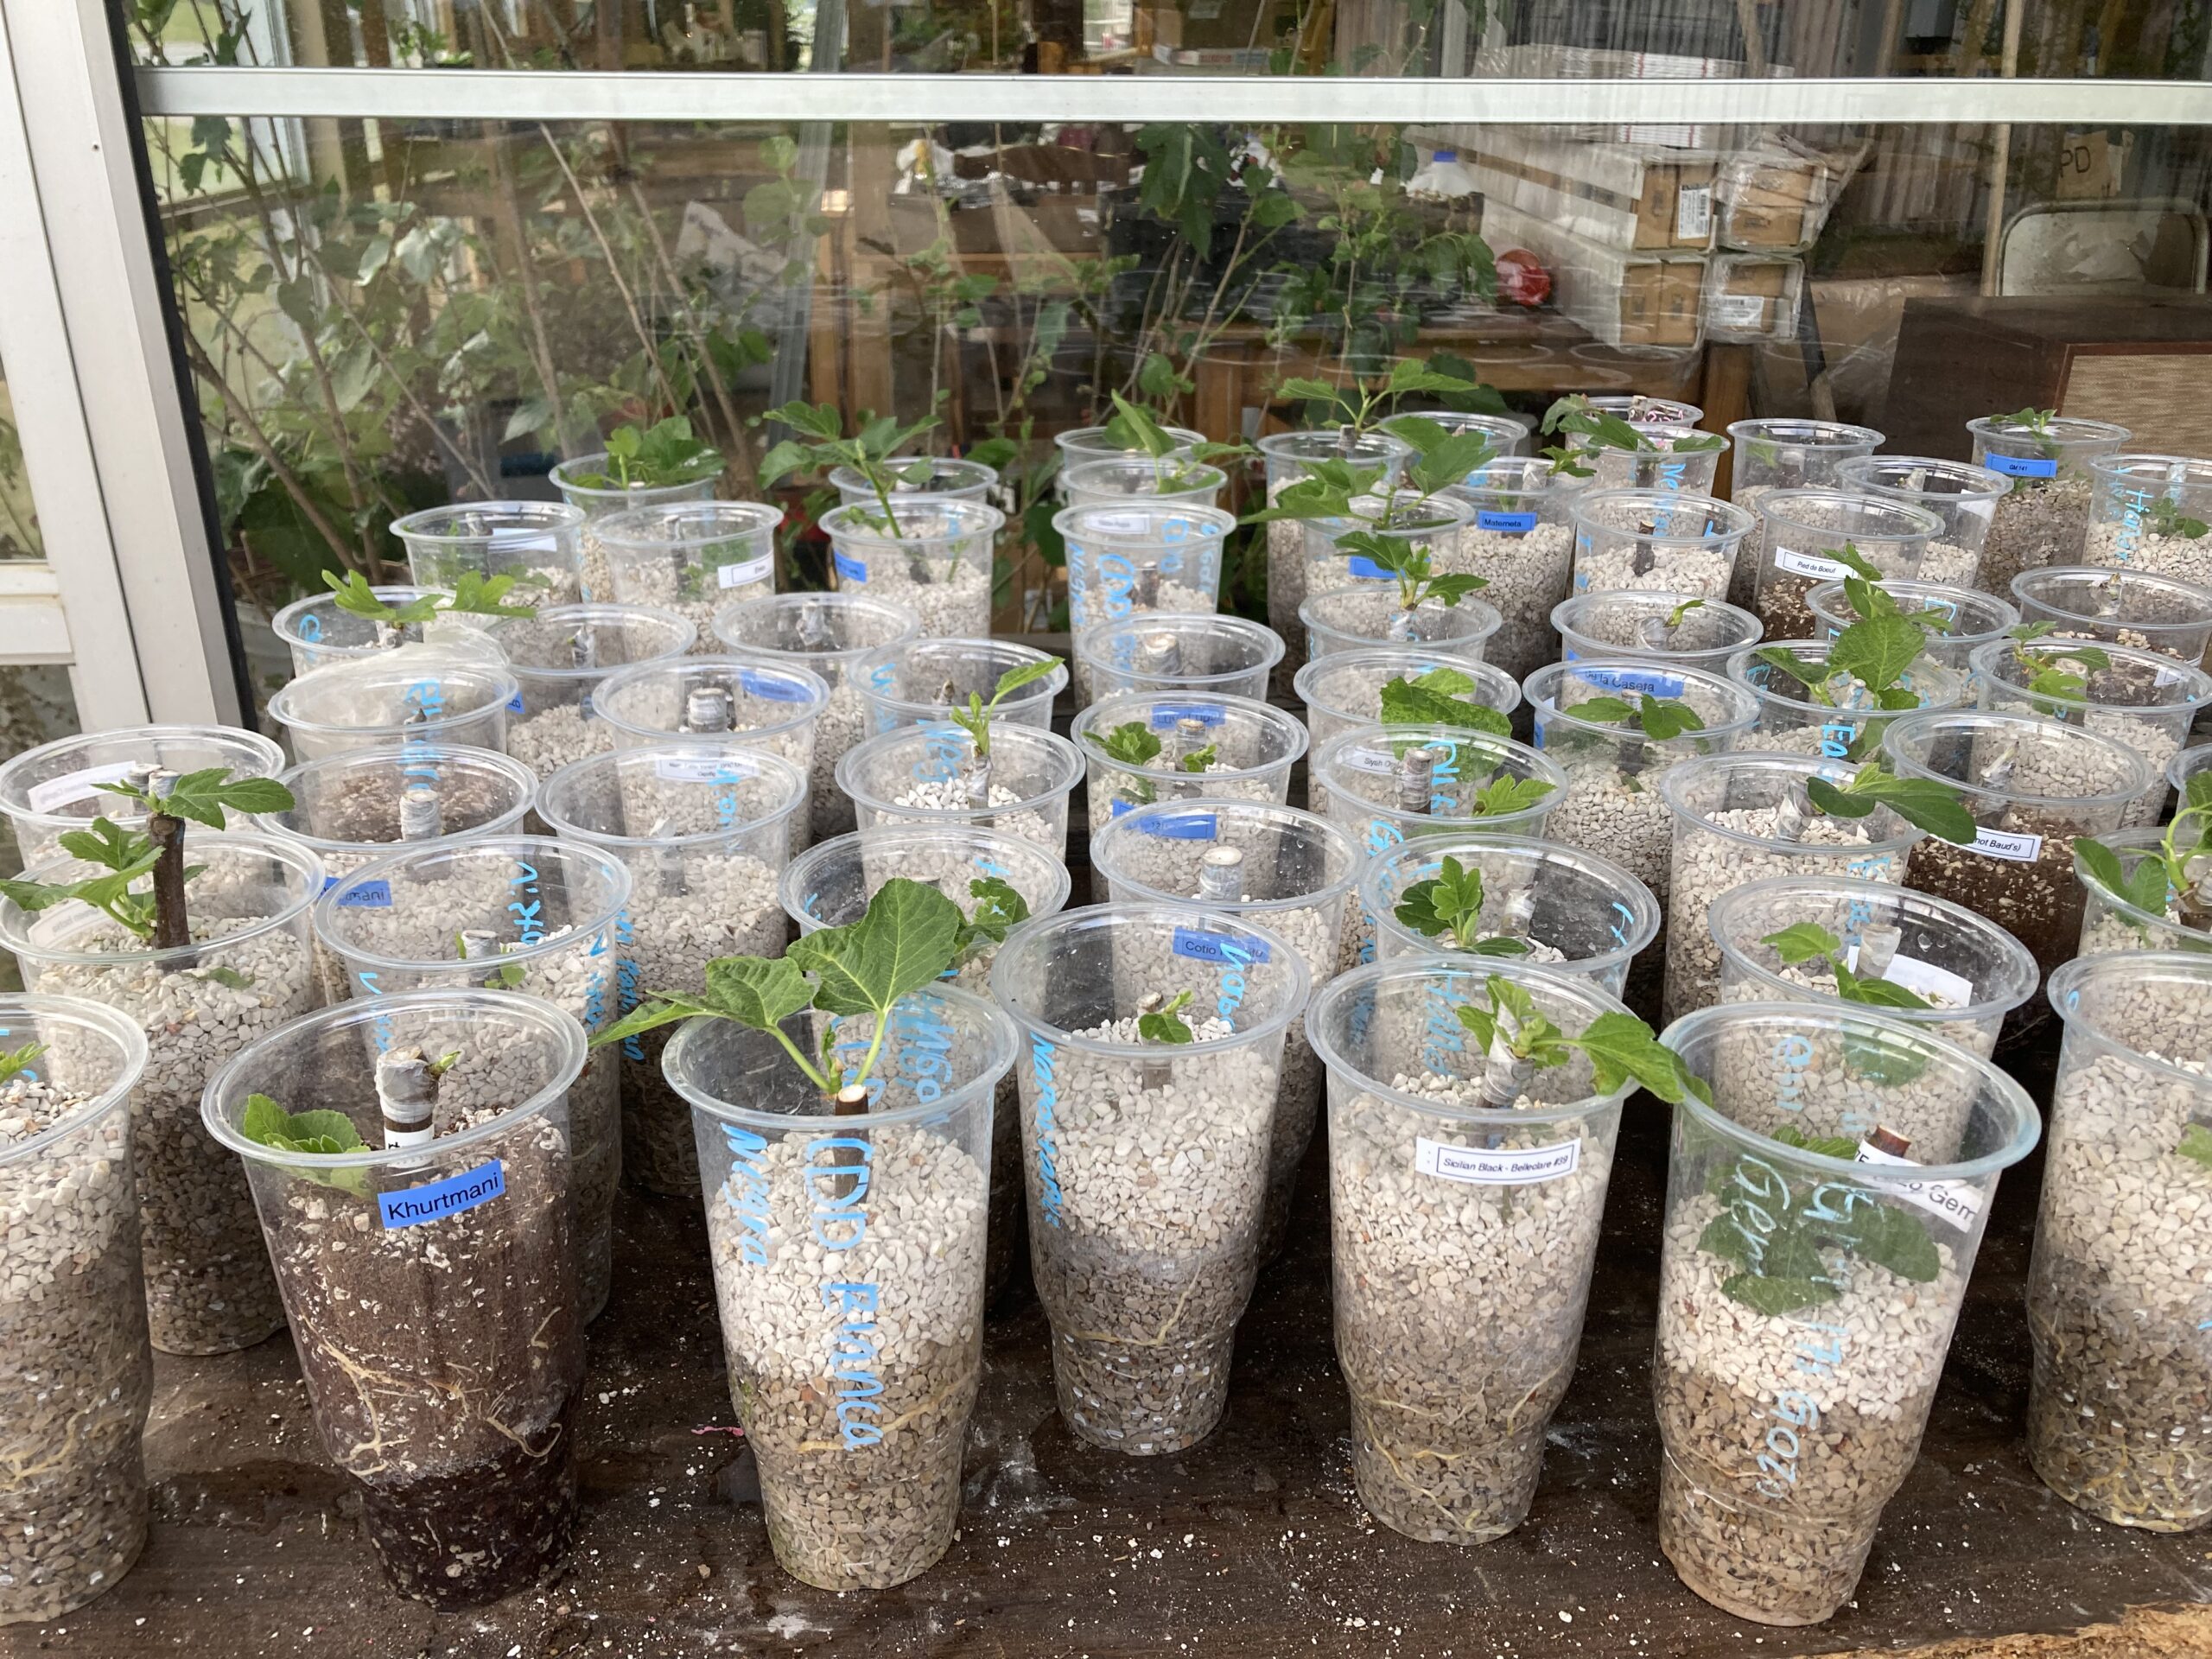
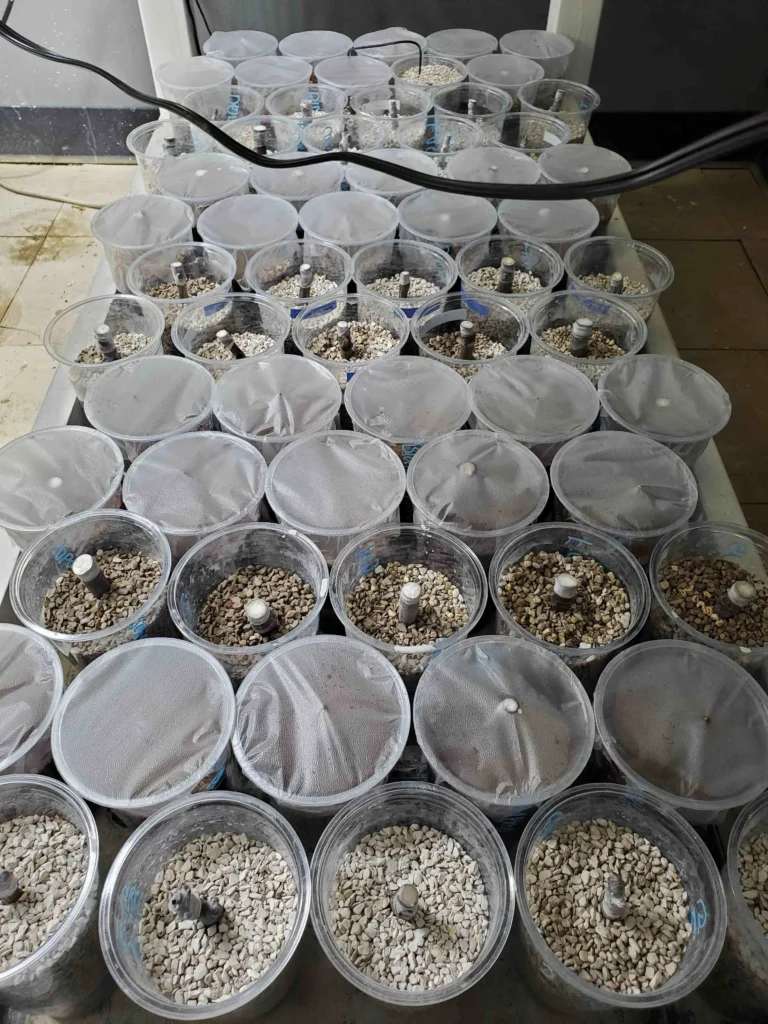
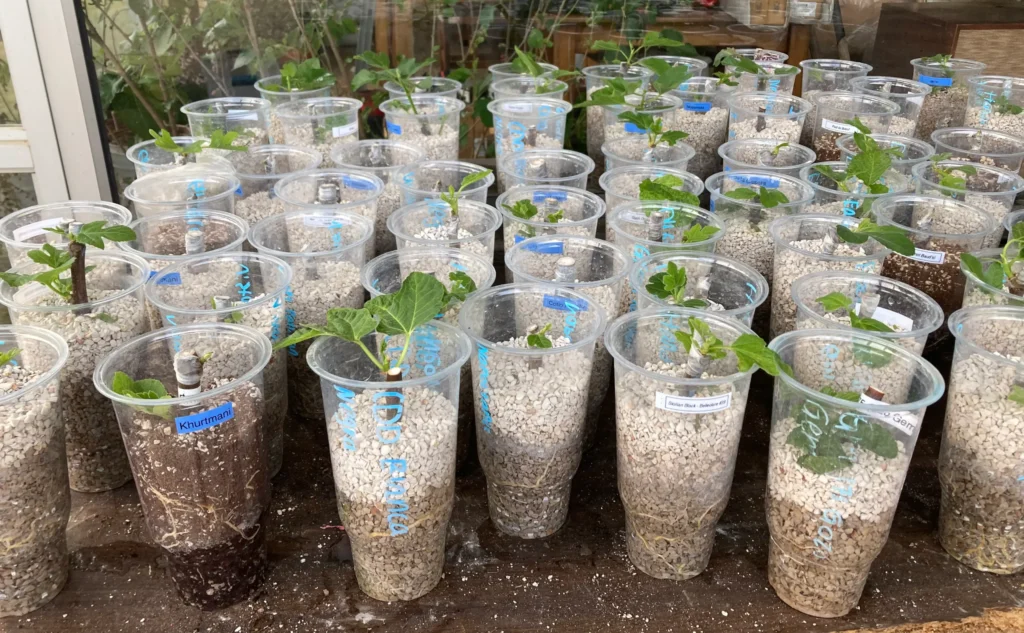
- 32 oz clear plastic cups with drainage holes in bottom.
- Dip’N Grow Rooting hormone:(IBA + NAA), mixed to softwood (weakest) concentration.
- Physan20 Disinfectant: (for 10-minute soak).
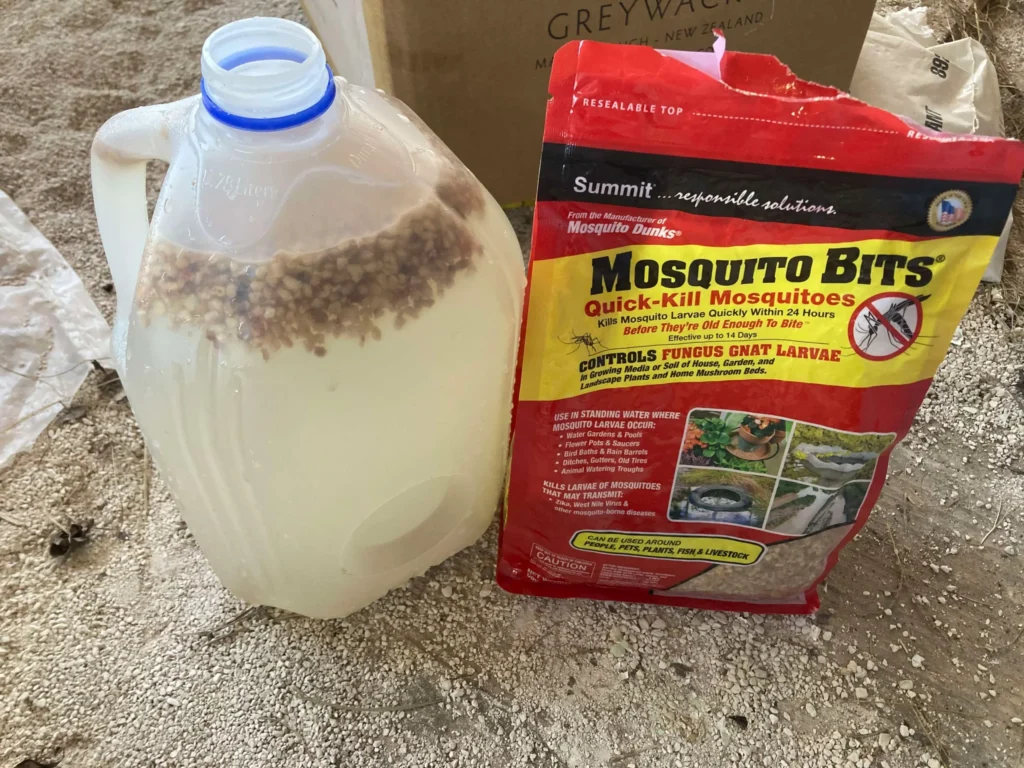
- Inoculants: MycoStop (Streptomyces strain K61) and Mosquito Bits (Bacillus thuringiensis israelensis, for BT).
- PressNSeal plastic wrap (for covering coco coir cups; later added to straggling DE cups).
- Heat mats set to 80°F – this was in a cool basement so you may need to adjust this down – shoot for 76-80°F.
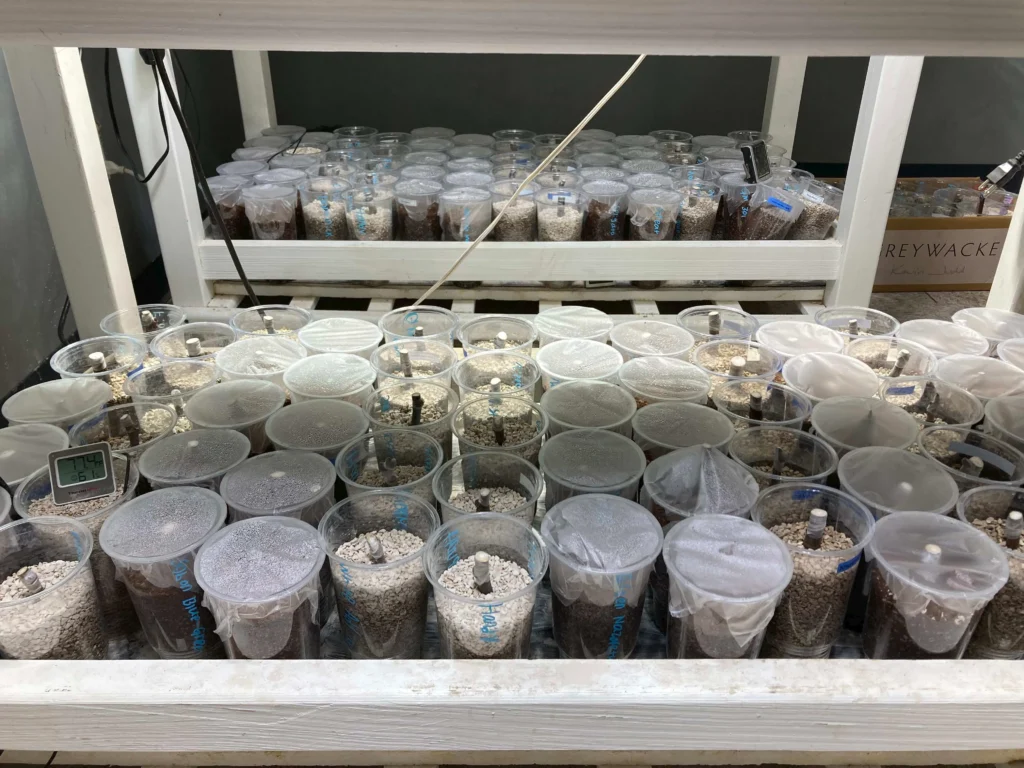
- Digital thermometer/hygrometer (tracked ambient: 30–40% RH).
- Light meter (initial light level: 500–1800 lux). You can get by w/o this and/or use a phone app
- Tap water (pH ~6.7, room-temp or warm). It’s a good idea to check your tap water pH – the strips are easy.
Process Steps
- Prep Cuttings:
- Hydrate cuttings 24 hours in room-temperature tap water.
- Soak 10 minutes in Physan 20 solution for pathogen control.
- Allow cuttings to air dry
- Prep Media (all inoculated ~20 minutes prior with MycoStop + Mosquito Bits in water):
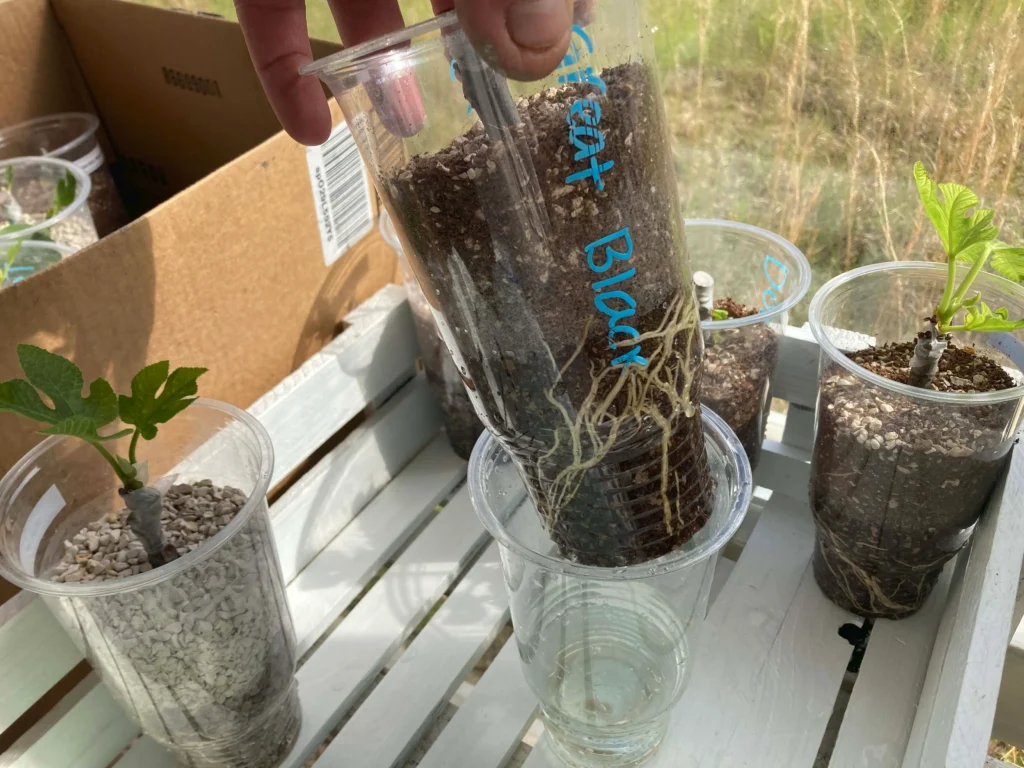
- Coco coir: Prewashed and allowed/encouraged to drain as much as possible. Then rehydrated with about a 1/2 gallon of MycoStop solution and 1/2 gallon of BT solution (never more than field capacity) and the bin was thoroughly mix with inoculants. Roughly 30% by volume of dry DE was added, bringing the moisture level from near field capacity to roughly 70% field capacity. This can be testing by taking a handful of media and squeezing it as tightly as possible before (a drop or two may fall, that’s at field capacity) and after (it should seem noticeably drier and impossible to squeeze out any free water at all) adding the dry DE. The 32 oz cups when filled as shown had and an average cup weight of about 450 g (16 oz).
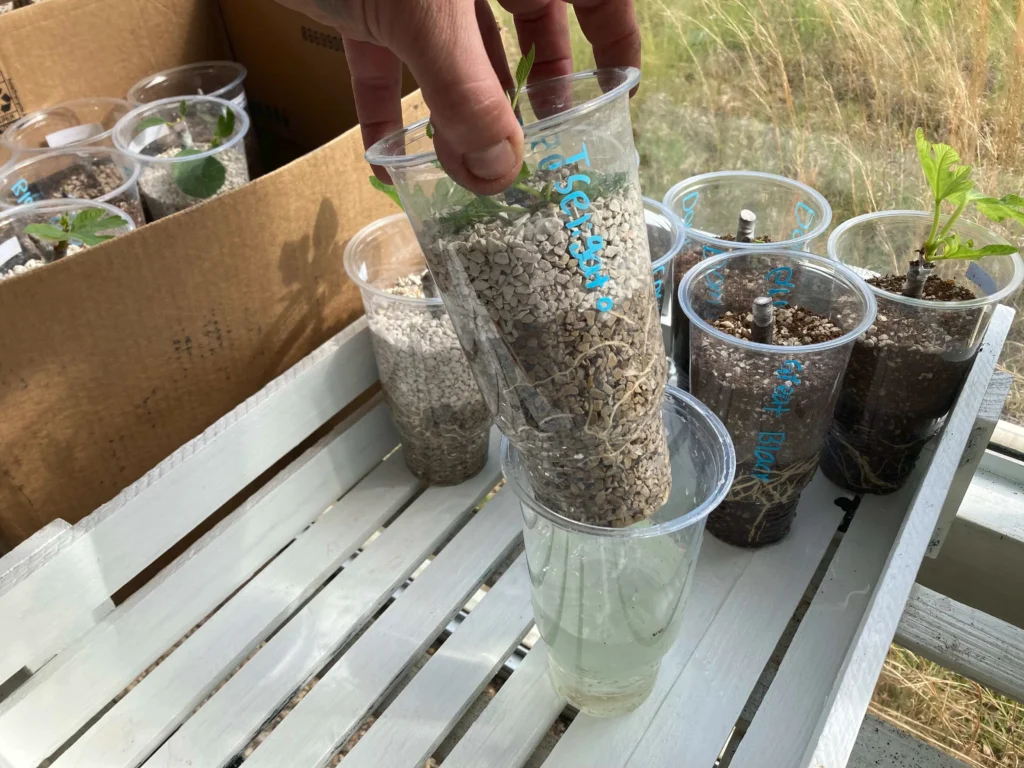
- DE: Sift OptiSorb through #8 hardware cloth to remove fines. Fill cups 1/2 to 2/3 of the way full, then fully dunk/submerse in inoculated water.
- Strike:
- Make fresh cuts on both ends of cutting with pruners
- Score bottom 2 inches with knife to expohcse (but not remove) cambium.
- Dip scored end 3 seconds in Dip’N Grow (softwood concentration).
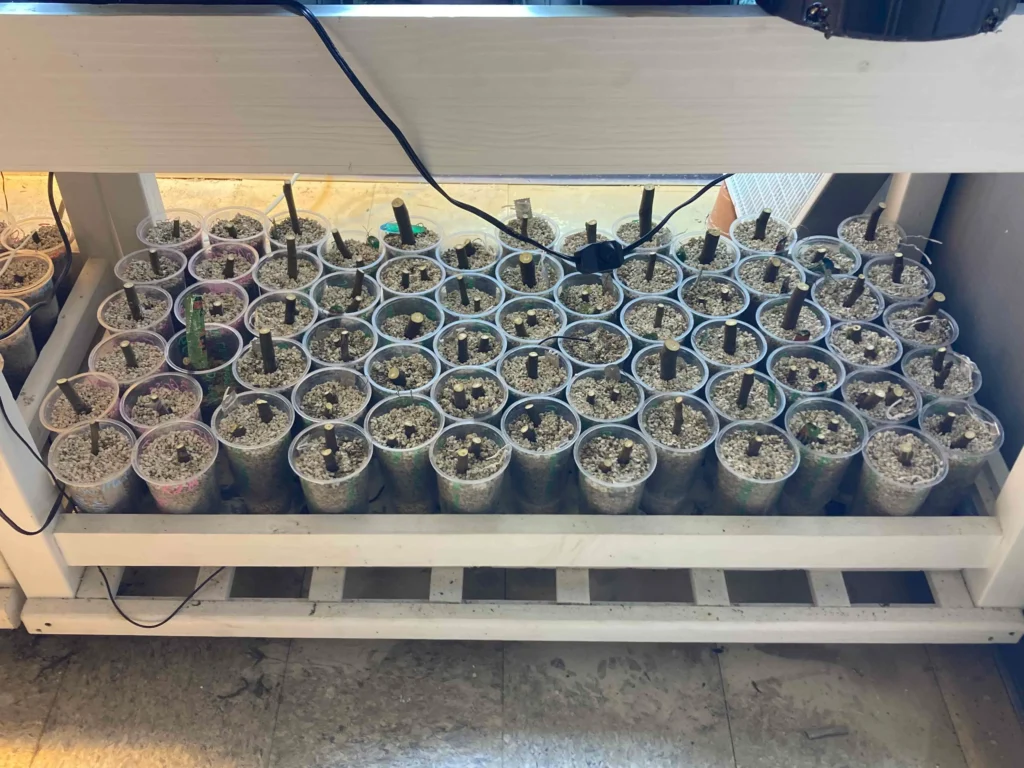
- Insert cuttings upright (scored end buried) – NOT TOO DEEP, the bottom of the cutting should not be deeper than half way down in the cup. Too deep the and bottom is more likely to rot. Most of the cutting should be covered w/media though. If the cutting is too long, consider a deeper container.
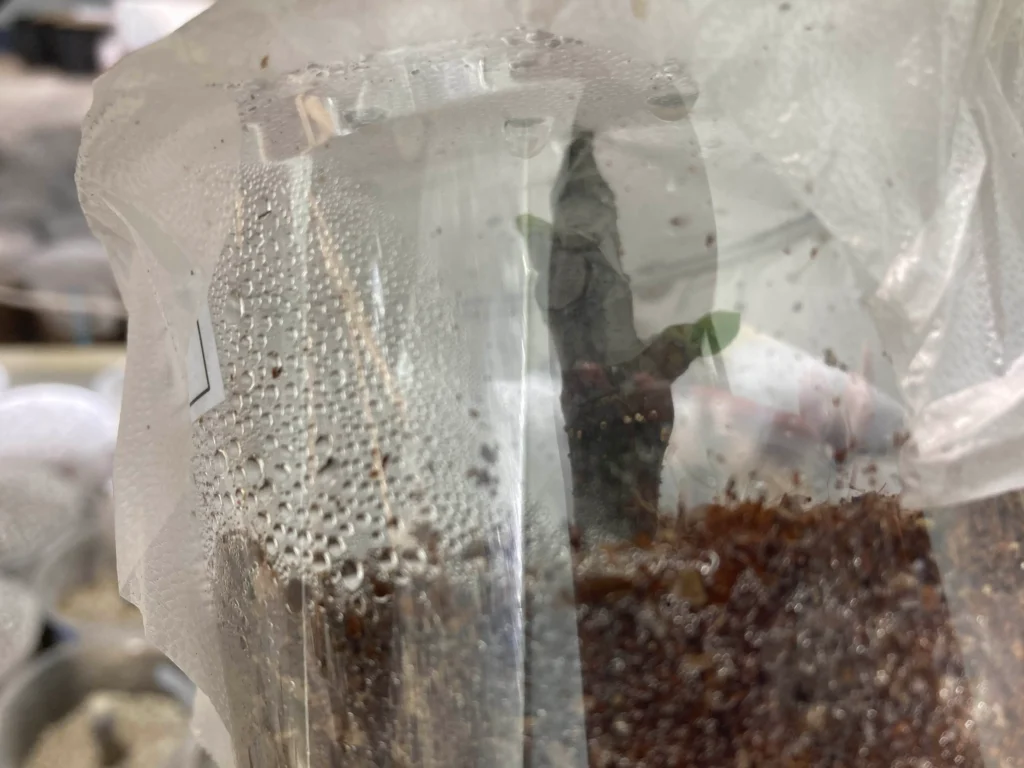
- Cover coco coir cups with PressNSeal to trap humidity (pursed if needed to avoid leaf condensation/mold contact).
- DE cups uncovered initially.
- Pair cups by variety side-by-side for direct comparison.
- Place on 80°F heat mats in low light (500–600 lux typical).
- Care:
- Coco coir: Minimal intervention—bottom-water if cup feels light (via holes); avoid top watering. Check weekly by weight.
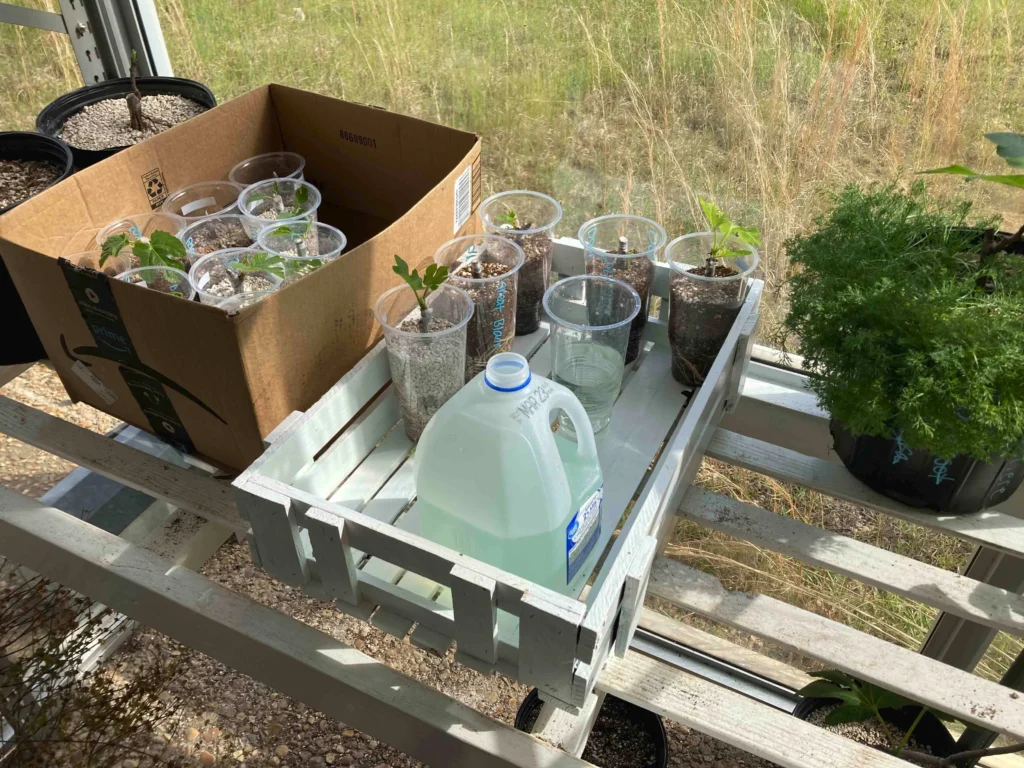
- DE: Monitor top color/weight; add ~2 oz inoculated room-temp tap water every 1~5 days (or as needed). Occasional top watering used. Full dunk used but not routine.
- Weekly root checks: Look for white roots at cup edges.
- Remove PressNSeal plastic cover (if any) as soon as leaves begin to emerge to avoid VPD shock and move to slightly stronger, but still indirect light. Watch leaf color for indications.
- For DEs lagging showing roots, add plastic covers to stragglers after a few weeks to raise humidity.
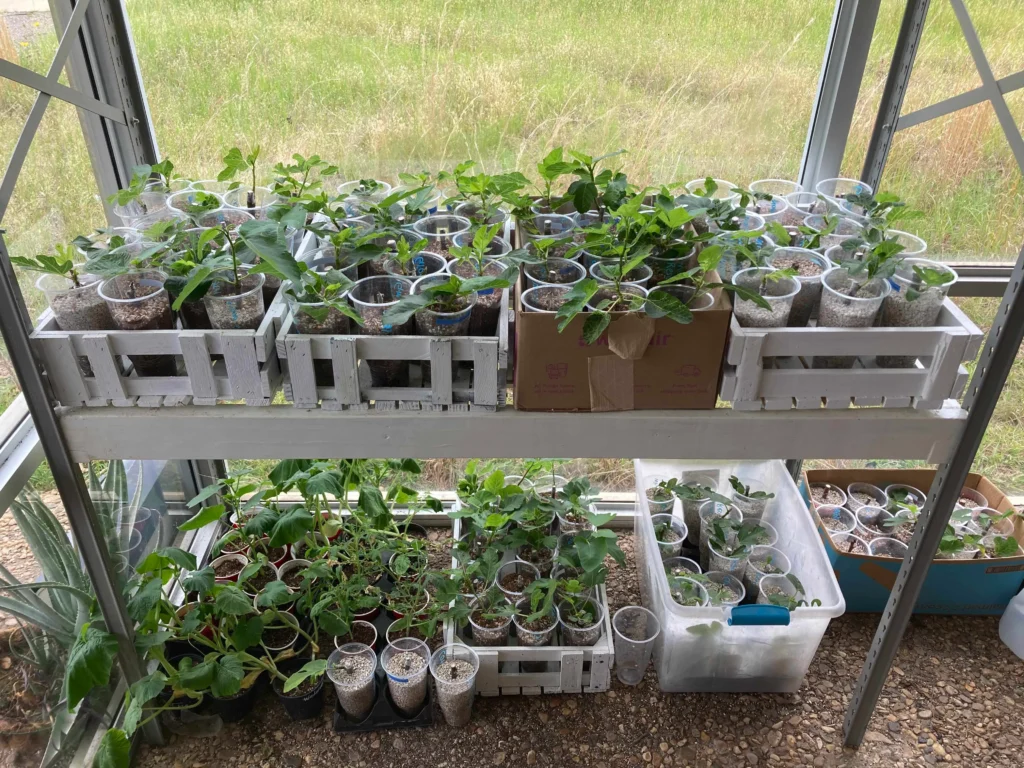
- Once roots are visible at edge or leaves are emerging, transition to brighter light (e.g., south window or higher lux), then outdoors.
- Timeline from My Test:
- Week 1–2: Little visible change; focus on consistent hydration.
- ~10 days: Coco coir showed first roots; DE none.
- 2–3 weeks: Coco coir many rooting/leafing; DE slower, tops drying.
- 3–4 weeks: Coco coir ~62/64 rooted; DE ~46/64.
- 5 weeks: Coco coir 100% (64/64, last one Easton Vasilika); DE ~52/64 (covers added to rest).
- Final (post-5 weeks): DE 60/64 (92%).
- Overall success from 64 cuttings ordered we ended up with 124 rooted trees (124/64 is approx 194%).
Key Takeaways & Tips
- Coco coir faster/more uniform due to trapped humidity from covers and/or less dense media.
- DE is a bit easier and harder to “mess up”, as long as you (bottom) water it regularly.
- DE needs vigilant watering to avoid drying and is harder to wet from above; less prone to gnats/rot.
- No major fungus/pests (thanks to inoculants?) and clean basement w/stable temperature/humidity.
- Track cup weights (check at start and when they feel light), dates, and notes.
- Both media viable—choose based on your conditions (humidity, pest pressure, easy).
Post your results or questions!